
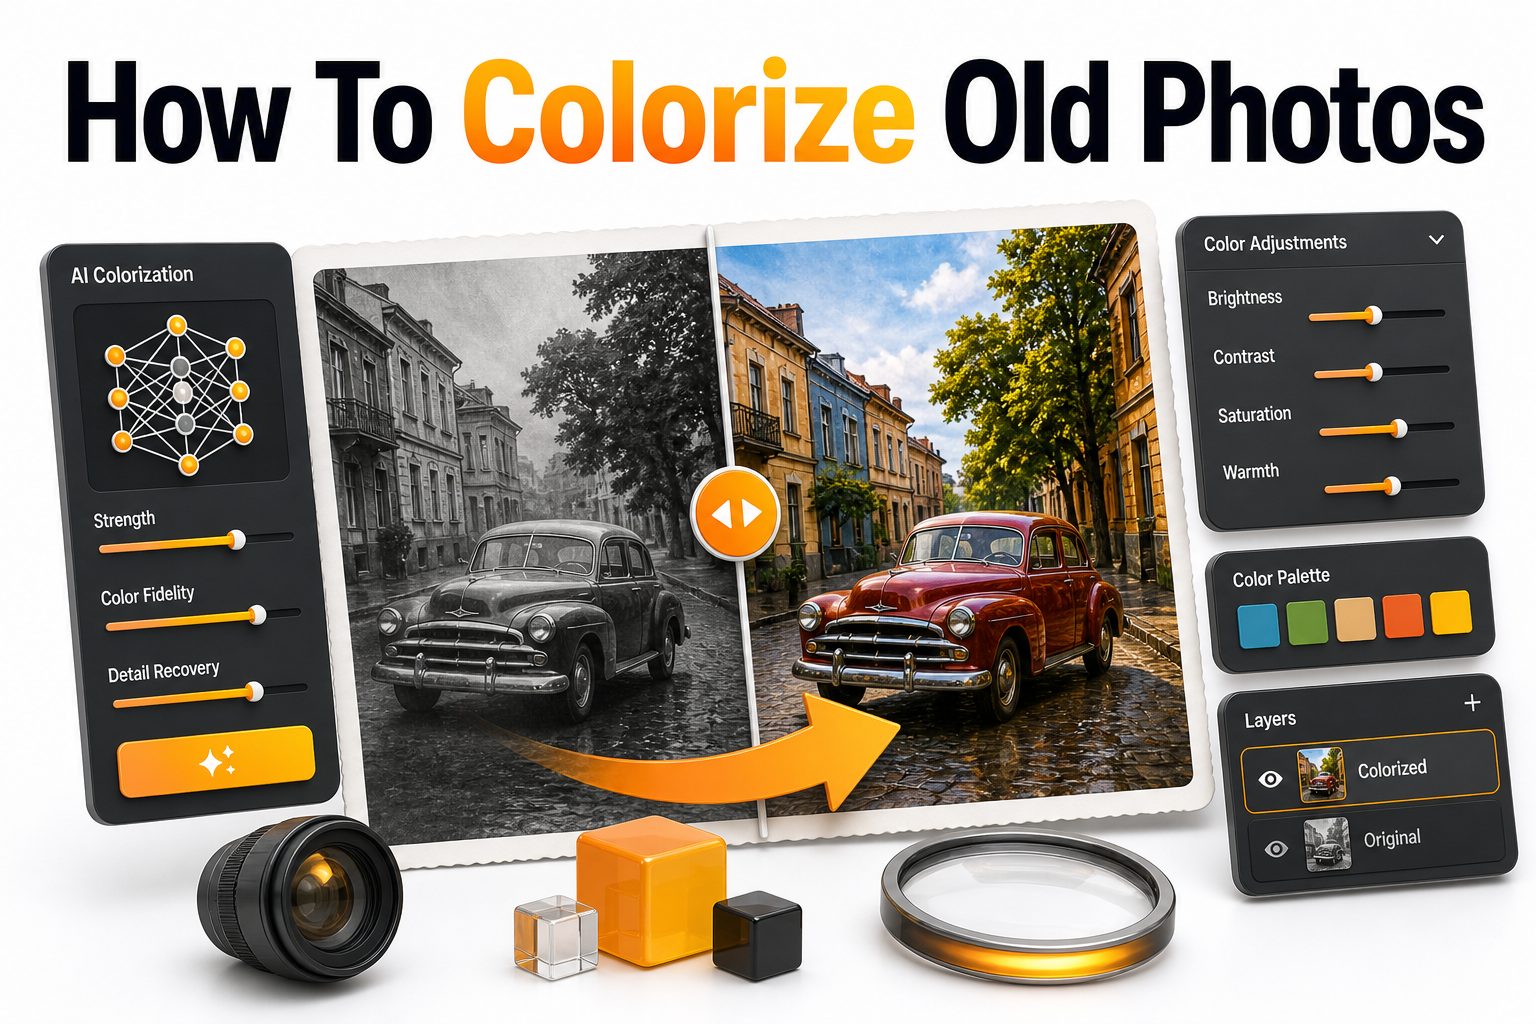
Old black-and-white photographs carry a kind of quiet power. They preserve faces, places, clothing, and moments that may be decades or even a century old. Yet for many families, those images can feel distant because the lack of color creates a visual gap between past and present.
Learning how to colorize old photos helps close that gap. Done well, colorization can make a wedding portrait, military photograph, childhood snapshot, or street scene feel more immediate without erasing its original character. The goal is not to replace history, but to add a thoughtful layer of realism.
Modern photo editing tools, AI colorization software, and manual retouching techniques have made the process more accessible than ever. Still, a beautiful result depends on judgment. Skin tones, fabrics, backgrounds, lighting, and historical accuracy all matter. This guide walks through the practical steps, tools, and decisions that lead to natural, respectful photo colorization.
Why Old Photo Colorization Matters
Color can change the way people connect with a photograph. A black-and-white image often feels archival, while a colorized version can make the subject seem more familiar. This is especially powerful when restoring family photos for relatives who never met the people in the image.
Colorization also helps reveal details that may be overlooked in monochrome. Clothing layers, flowers, furniture, uniforms, landscapes, and facial features can become easier to recognize. When handled carefully, color brings context to the image while preserving the emotional weight of the original photograph.
What Makes a Colorized Photo Look Realistic
A realistic colorized image depends on restraint. Oversaturated skin, bright clothing, or overly clean backgrounds can make an old photograph look artificial. Subtle colors usually work best because older film often captured softer contrast, natural grain, and imperfect lighting.
The best results come from matching color choices to the period, location, and subject. A 1940s military portrait, a 1920s studio photograph, and a 1960s family snapshot should not share the same color palette. Historical clues help the restored image feel believable.
Key Benefits of Colorizing Old Photos
Colorization can make historical images easier to relate to, especially for younger family members who are used to viewing life in color.
A carefully colorized photo can support family history projects, genealogy research, memorial displays, and anniversary gifts.
Restored color can highlight details such as eye color, fabric texture, flowers, painted signs, and room decor.
Color versions can sit alongside original black-and-white scans, giving viewers both historical authenticity and modern visual warmth.
Preparing Your Photo Before Colorization
Before adding color, start with the best scan or digital copy available. A high-resolution image gives editing tools more detail to work with. If possible, scan the photograph at 600 DPI or higher, especially if you plan to print the finished version.
Avoid working from screenshots or compressed images unless no better copy exists. Dust, scratches, fading, and blur can affect color accuracy. Basic cleanup before colorization often leads to smoother skin tones, cleaner clothing edges, and more convincing background colors.
Cleaning Damage Without Losing Character
Old photos often include scratches, stains, cracks, silvering, or faded corners. Removing every imperfection may sound appealing, but too much cleanup can make the photo look strangely modern. The aim is to repair distractions while keeping the image’s natural age intact.
Use healing tools, clone tools, and restoration software carefully. Repair large tears, facial damage, and distracting spots first. Leave fine grain and mild texture when they add authenticity. A restored photograph should still feel like a real image from its time.
Pre-Colorization Checklist
Scan the original photo at high resolution.
Save a backup copy before editing.
Crop only after deciding whether the full background has value.
Remove major scratches, stains, and dust marks.
Adjust exposure and contrast before adding color.
Keep the original black-and-white version untouched.
Work in layers if using professional editing software.
Choosing the Best Method to Colorize Old Photos
There are three main ways to colorize old photos: automatic AI tools, manual editing, and a hybrid workflow. AI tools are fast and useful for first drafts. Manual editing gives more control over skin, clothing, backgrounds, and historically accurate color choices.
Most strong results use both. An AI colorizer can create a base layer, then a human editor refines the details. This approach saves time while avoiding the common problems of automated colorization, such as incorrect lips, flat skin tones, or random object colors.
Using AI Photo Colorization Tools
AI colorization tools analyze grayscale values, facial features, clothing shapes, and scene context to estimate likely colors. They can produce impressive results in seconds, especially on portraits with clear faces and simple backgrounds. For casual family use, they may be enough.
However, AI guesses are not facts. It may turn a blue dress green, misread a wooden wall as brick, or give every person similar skin tones. Always review the result closely, especially if the image has historical, personal, or archival importance.
AI Colorization Versus Manual Colorization
Method | Best For | Strength | Limitation
AI Colorization | Fast family projects | Quick results with minimal effort | Colors may be inaccurate
Manual Colorization | Detailed restorations | Highest control and realism | Requires skill and time
Hybrid Workflow | Most serious projects | Balances speed and quality | Still needs human review
Mobile Apps | Casual sharing | Easy for beginners | Limited precision
Professional Service | Heirloom prints | Expert restoration quality | Higher cost
Manual Colorization for Better Control
Manual colorization usually involves creating separate layers for skin, hair, clothing, eyes, lips, and background elements. Each layer is blended into the black-and-white image using color, soft light, overlay, or similar blending modes depending on the software.
This method takes longer, but it allows careful decisions. You can tint cheeks lightly, vary skin undertones, adjust fabric color, and correct shadows by hand. Manual work is especially useful for portraits, wedding photos, military images, and images intended for printing.
Picking Natural Skin Tones
Skin tones are often the hardest part of old photo colorization. Real skin includes subtle reds, yellows, browns, blues, and shadows. A single flat peach or brown overlay usually looks fake because faces need variation across cheeks, lips, forehead, jawline, and hands.
Start with a muted base tone, then build warmth gradually. Add gentle redness to cheeks, lips, ears, and fingertips. Keep shadows cooler and highlights softer. When colorizing several people, vary undertones instead of applying the same color to every face.
Practical Color Tips for Realistic Results
Use lower saturation than you think you need.
Add color gradually with multiple light layers.
Keep shadows slightly cooler than highlights.
Avoid bright white eyes or overly red lips.
Use historical references for clothing and uniforms.
Compare your work to real color photographs from the same period.
Step away and review the image later with fresh eyes.
Researching Historical Colors
Historical research can make the difference between a nice colorized photo and a believable one. Clothing dyes, military uniforms, car paint, wallpaper, flags, and household objects varied by decade and region. Guessing without context can lead to polished but inaccurate results.
Look for clues in the photograph itself. Fabric texture, garment cut, badges, medals, signage, architecture, and background objects can narrow down likely colors. Museum archives, family records, yearbooks, and period catalogs can also guide better choices. For related restoration basics, see [Internal Link: Old Photo Restoration Tips].
Colorizing Clothing and Fabric
Clothing should support the image rather than dominate it. Many older garments used muted wool, cotton, linen, and formal fabrics. Even when bright colors were available, black-and-white film often compressed tones in ways that require careful interpretation.
Pay attention to folds and shadows. Color should follow the shape of the clothing, not sit like paint on top. Use masks, soft brushes, and opacity adjustments to preserve fabric texture. Buttons, collars, ties, hats, and lace often need separate, smaller color passes.
Useful Historical Color Clues
Military insignia can identify uniform colors and service branches.
Wedding clothing was not always pure white, especially in older portraits.
Dark grayscale fabric may represent navy, burgundy, forest green, brown, or black.
Painted studio backdrops often used soft blues, browns, grays, and greens.
Lipstick and makeup trends changed strongly by decade.
Cars, signs, and product packaging can often be researched by year.
Working With Hair, Eyes, and Facial Details
Hair color needs texture. A flat brown or black layer can erase fine strands and make the head look heavy. Use transparent layers and allow the original highlights to show through. Add warmth to brown hair, gold tones to blonde hair, and blue-gray highlights to black hair when needed.
Eyes require even more restraint. Many old portraits do not show enough detail to prove eye color. If family records confirm blue, green, hazel, or brown eyes, use that information lightly. If not, choose a subtle natural tone rather than a vivid color.
Colorizing Backgrounds and Environments
Background color sets the mood of the finished image. A studio portrait may only need a soft neutral backdrop, while an outdoor photo may require sky, grass, brick, wood, or water. Backgrounds should stay slightly quieter than faces and important objects.
When colorizing landscapes or interiors, avoid making every object equally colorful. Real scenes have visual hierarchy. A faded wall, muted floor, or soft sky can keep attention on the people. Strong background colors should be used only when the evidence supports them.
Common Areas That Need Extra Attention
Hands often need warmer tones than faces because old film may darken them unevenly.
Teeth should remain natural and slightly off-white.
Eyeglass frames can pick up reflections and should not be heavily tinted.
Jewelry needs small highlights rather than solid yellow or silver color.
Grass and trees should include several greens, not one uniform shade.
Walls and curtains usually look better with muted color.
How to Colorize Old Photos Step by Step
Start by making a clean digital copy of the image. Correct exposure, contrast, and major damage before adding any color. If the photo is too dark or faded, color layers will behave unpredictably. A balanced black-and-white base gives the whole project a stronger foundation.
Next, apply broad color areas first, then refine details. Work from skin and clothing to background and small objects. Keep layers named clearly so you can adjust each area later. Save versions as you go, especially before major changes.
Step 1: Prepare and Restore the Base Image
Begin with cropping, straightening, dust removal, and tonal correction. Do not over-sharpen the image at this stage. Sharpening can make scratches and grain more visible, which may create problems once color is added.
Use curves or levels to restore contrast gently. Faces should have enough detail in the highlights and shadows. If the original photo is badly faded, rebuild midtone contrast first. A good grayscale foundation makes colorization easier and more natural.
Step 2: Add Base Colors in Separate Layers
Create separate layers for skin, hair, clothing, background, and objects. Use soft brushes and masks to stay within edges. Set the layer blend mode to color or soft light, depending on the software and the look you want.
Keep opacity low at first. It is easier to strengthen color later than to fix an image that has become too saturated. Build slowly, zoom out often, and compare the image against real reference photos from a similar time period.
Step 3: Refine Shadows, Highlights, and Details
After applying base colors, focus on realism. Add warmer tones to cheeks and hands, cooler tones to shadowed areas, and slight variation to clothing folds. Small changes often matter more than large color shifts.
Check edges around hair, ears, fingers, collars, and hats. These areas often reveal rushed colorization. If color bleeds outside the subject, clean the mask carefully. The final image should feel photographic, not painted.
Mistakes to Avoid
Using colors that are too bright for the period.
Applying one skin tone across the whole face.
Ignoring hands, ears, and neck areas.
Making backgrounds compete with the subject.
Forgetting to restore damage before colorizing.
Trusting AI output without checking details.
Exporting only a low-resolution final file.
Best Software for Photo Colorization
The best software depends on your skill level and goal. Adobe Photoshop remains a strong choice for manual colorization because of its layer controls, masks, adjustment tools, and retouching features. Affinity Photo and GIMP can also handle detailed work well.
For simpler projects, web-based AI tools and mobile apps can produce quick versions. These are useful for previewing what a photo might look like in color. For heirloom prints or damaged originals, professional software or a restoration specialist will usually produce better results.
Free and Paid Tool Options
Free tools are useful for learning, especially if you only need to colorize a few family photos. GIMP, online AI colorizers, and some mobile apps can handle basic edits. The tradeoff is often less control over color accuracy and fine detail.
Paid tools are better for serious restoration. Photoshop, Lightroom, dedicated restoration platforms, and professional retouching services offer stronger control over layers, color balance, repair work, and print preparation. If you plan to restore many images, paid software may save time.
Tool Selection Guide
For quick social sharing, use an AI colorization app.
For family albums, use AI plus manual touch-ups.
For framed prints, use Photoshop, Affinity Photo, or a professional service.
For damaged originals, repair the scan before colorization.
For historical archives, preserve both the original and edited versions.
For genealogy projects, document any assumed colors.
Printing and Saving Colorized Photos
Once the colorized version looks finished, export it in formats suited to the final use. JPEG works for sharing, but TIFF or high-quality PNG is better for archiving and printing. Keep the layered working file so future edits remain possible.
For print, check resolution and color profile. A photo that looks good on a phone may not hold up as an 8×10 print. Soft proofing, careful sharpening, and test prints help avoid muddy shadows, strange skin tones, or oversaturated clothing.
Preserving the Original Image
Colorization should never replace the original scan. Keep the untouched black-and-white version as your archival master. The colorized photo is an interpretation, even when based on strong research and family knowledge.
Store files with clear names, such as family-portrait-original-scan and family-portrait-colorized. Add notes when colors are confirmed by relatives, documents, or historical references. This is especially useful for family historians and anyone creating a digital archive.
Simple File Organization System
Original scan: keep untouched and high resolution.
Restored black-and-white version: use for cleanup work.
Layered edit file: save with all masks and color layers.
Final web version: export smaller for sharing online.
Final print version: export high resolution with correct color profile.
Research notes: record confirmed and assumed color choices.
When to Hire a Professional Colorization Expert
Hiring a professional makes sense when the photograph is rare, badly damaged, emotionally important, or intended for a major display. Experts can repair tears, rebuild missing areas, balance tones, and apply color with more precision than automated tools.
Professional editors also know when to hold back. The best restoration work does not call attention to itself. If you are preparing memorial portraits, museum materials, family history books, or anniversary gifts, expert editing can be worth the cost.
Using Colorized Photos in Family History Projects
Colorized photos can make genealogy projects more engaging. They work well in family trees, printed albums, reunion displays, video slideshows, and personal history books. Color helps relatives notice faces and settings that might otherwise feel distant.
Still, it is wise to label colorized images clearly. A simple note such as “colorized from original black-and-white photograph” keeps the record honest. For more ideas on organizing family images, visit [Internal Link: Family Photo Archive Guide].
Conclusion
Colorizing old photographs is part technical skill and part careful interpretation. The strongest results come from a clean scan, thoughtful restoration, realistic color choices, and patience with small details. AI tools can speed up the process, but human judgment is what makes a photo feel believable.
Whether you are restoring one treasured portrait or building a family archive, keep the original image safe and treat color as an added version rather than a replacement. Research clothing, settings, and personal details when possible. Use muted tones, preserve texture, and refine faces with care.
Learning how to colorize old photos gives you a practical way to bring family memories closer while respecting the past. A well-colorized image should not feel flashy or artificial. It should feel like the same photograph, only easier to connect with.
FAQ
Can I colorize old photos for free?
Yes, several free online tools and apps can colorize old photos. They work best on clear portraits with minimal damage. For more accurate results, you may still need manual editing after the automatic colorization.
Is AI colorization accurate?
AI colorization can create convincing results, but it estimates colors based on patterns. It does not know the true color of clothing, eyes, or objects unless that information is supplied or edited manually.
Should I restore a photo before adding color?
Yes, restoration should usually come first. Removing dust, scratches, fading, and exposure problems creates a better base. Color added over damage often makes flaws more noticeable and harder to correct later.
What file format is best for saving colorized photos?
Use TIFF or PNG for archiving and printing because they preserve more detail. JPEG is fine for email, websites, and social media, but keep a high-quality master file for future use.
Can colorization reduce the historical value of a photo?
Colorization does not reduce value if the original is preserved. The colorized version should be treated as an interpretation. For historical or genealogy use, label it clearly and keep the original scan unchanged.
0 Comments