
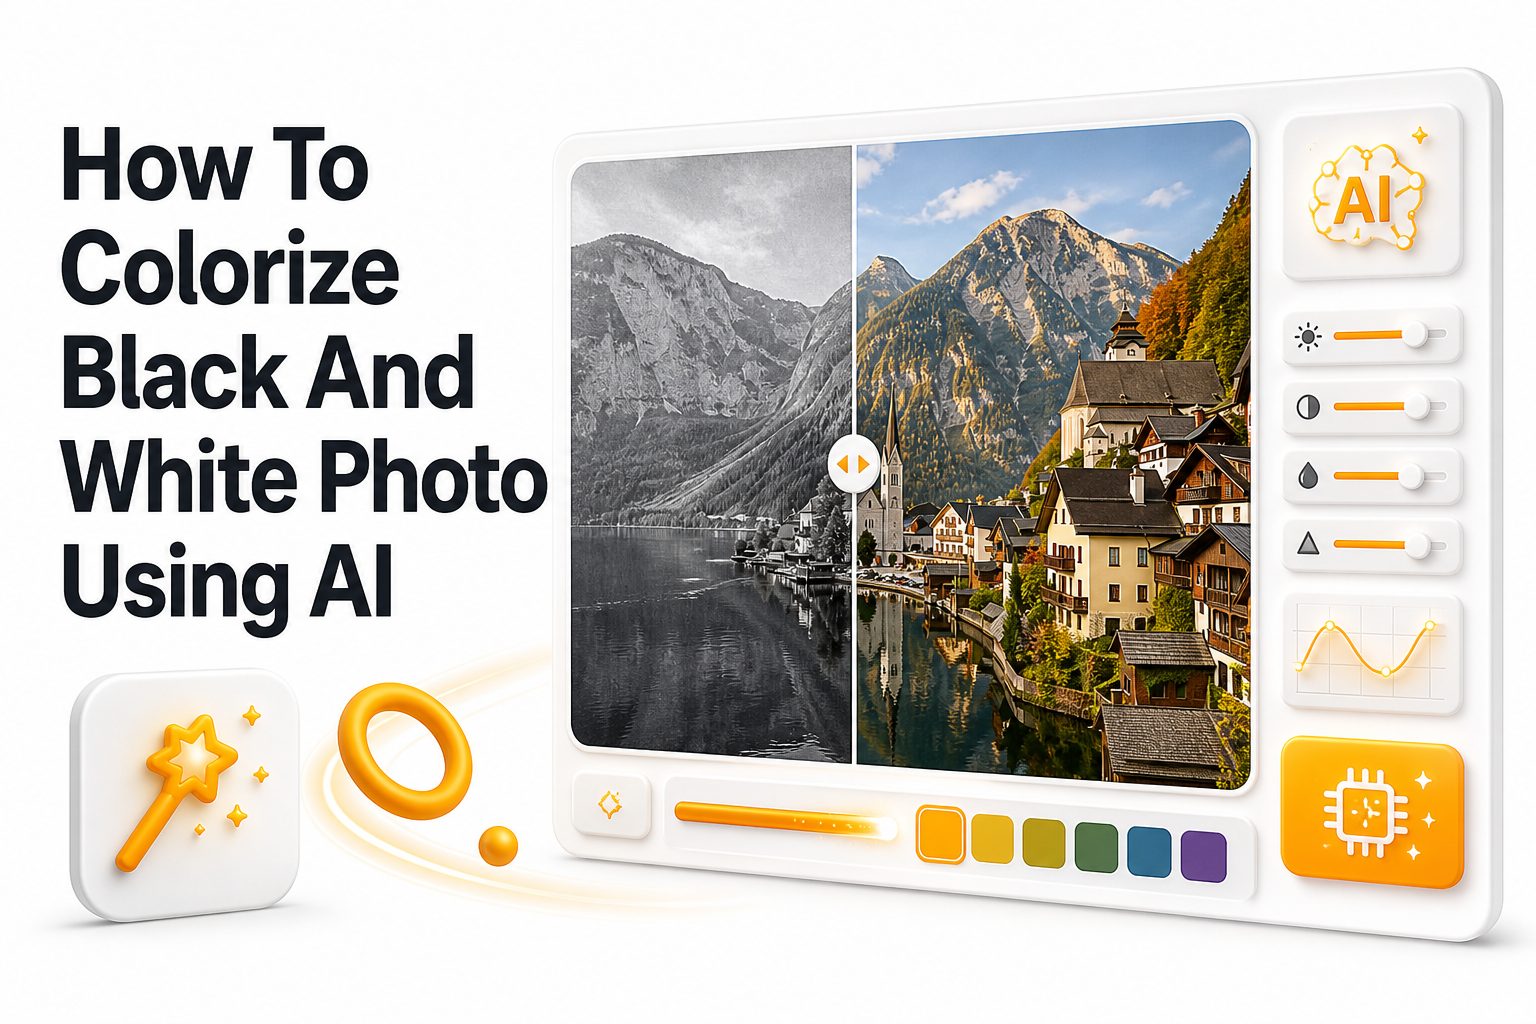
Old black and white photos carry emotion, history, and detail, but they can feel distant when the original colors are gone. AI colorization helps bridge that gap by adding believable color to portraits, family albums, street scenes, landscapes, and archival images without requiring advanced photo editing skills.
Learning how to colorize black and white photo using ai is useful for hobbyists, photographers, historians, content creators, and anyone restoring personal memories. Modern AI tools analyze faces, clothing, skies, trees, skin tones, lighting, and image context to estimate realistic colors in seconds.
The best results still require a thoughtful eye. AI can make a strong first pass, but small adjustments often turn an average result into something that feels natural. This article explains the full process, from choosing the right image to refining color, avoiding common mistakes, and preparing your final photo for sharing or printing.
Why AI Photo Colorization Works So Well
AI colorization tools are trained on huge collections of images that teach them how objects, skin, fabrics, buildings, plants, and skies commonly appear in color. When you upload a black and white image, the software predicts color based on shape, contrast, texture, and surrounding visual clues.
This process is not the same as recovering the original color. Instead, AI creates an informed color estimate. A 1940s dress may become blue, green, or burgundy depending on the tool’s interpretation. The result can look realistic, but historical accuracy may still need human input.
What AI Can and Cannot Do
AI can quickly identify common visual elements and apply balanced tones to faces, backgrounds, and objects. It is especially useful for old portraits, wedding photos, school pictures, city scenes, and landscapes where the visual information is clear and the subject matter is recognizable.
AI can struggle with damaged prints, heavy blur, missing detail, unusual clothing, rare uniforms, or scenes with strong shadows. It may also color similar objects differently or guess incorrectly on items with no visual context. Manual correction remains important for polished work.
Key Benefits of AI Colorization
- Saves time compared with manual color painting
- Makes old family photos feel more relatable
- Helps restore historical images for blogs, books, and archives
- Requires little technical skill for basic results
- Works well for portraits, landscapes, and everyday scenes
- Gives editors a strong starting point for further refinements
Choose the Right Black and White Photo
A clean, sharp photo gives AI more information to work with. Images with visible facial features, strong contrast, and clear object edges usually produce better color. If the photo is faded, scratched, or low resolution, consider restoring it before adding color.
Avoid starting with a tiny compressed file if you have access to a better scan. A high-resolution image preserves detail in hair, eyes, fabric, and background elements. For family photos, scanning the original print often gives better results than photographing it with a phone.
Prepare the Image Before Colorizing
Basic preparation can improve the final result dramatically. Crop away unnecessary borders, straighten the image, and remove dust or large scratches when possible. AI tools perform better when the subject is clear and the photo is not filled with distracting marks.
You can also adjust brightness and contrast before uploading. If a photo is too dark, the AI may misread clothing, shadows, or skin. If it is too washed out, the software may apply flat color. A balanced grayscale image usually colorizes more naturally.
Pre-Colorization Checklist
- Use the highest resolution version available
- Straighten tilted scans before uploading
- Remove major stains, dust, and scratches
- Adjust contrast so faces and objects are clear
- Save a backup of the original black and white file
- Avoid extreme sharpening before colorization
- Export in PNG or high-quality JPG when possible
Pick an AI Colorization Tool Carefully
Different AI tools produce different color styles. Some focus on quick one-click results, while others allow editing, masking, and manual adjustments. For simple family photos, an automatic web tool may be enough. For professional work, choose software with more control.
Look for tools that preserve image quality, allow high-resolution downloads, and do not add heavy watermarks. Privacy also matters, especially with family portraits or sensitive archive material. Read upload policies before sending personal images to any online service.
Test More Than One Result
It is smart to run the same photo through two or three tools when quality matters. One platform may handle skin tones better, while another may produce more realistic clothing or background colors. Comparing outputs helps you choose the strongest base.
Do not judge only by the most colorful version. Overly saturated results can look artificial, especially on older portraits. A slightly restrained color palette often feels more believable. Natural skin, balanced shadows, and consistent lighting matter more than dramatic color.
AI Tool Comparison Factors
Feature | Why It Matters
Resolution support | Higher exports are better for printing and archiving
Manual editing | Lets you fix wrong clothing, eyes, or background colors
Privacy policy | Important for family, client, or historical photos
Watermark rules | Affects whether the image is usable professionally
Color realism | Determines whether the result feels natural or artificial
Batch processing | Useful when colorizing many photos at once
Upload and Generate the First Color Version
Once your image is ready, upload it to the AI tool and select the colorization option. Some platforms offer style choices such as natural, vivid, or restored. Start with the most realistic or neutral setting if you plan to edit the photo afterward.
After processing, review the entire image instead of focusing only on the face. Check clothing, hair, background, furniture, plants, vehicles, and shadows. AI often gets the main subject right while making smaller mistakes in surrounding details.
Review Skin Tones First
Skin tone is usually the most noticeable part of a colorized portrait. Good AI colorization should keep faces warm, even, and believable. Watch for orange skin, gray patches, pink shadows, or mismatched tones between the face, neck, and hands.
If the tool allows adjustments, reduce saturation slightly before making other changes. Older black and white photos often look more authentic with gentle color. Strong skin color can make the image feel modern in a way that clashes with the photo’s age.
Review Points After First Generation
- Does the skin look natural under the lighting
- Are hands and faces colored consistently
- Does the clothing color fit the era and context
- Are shadows still believable
- Is the background too colorful or distracting
- Are lips, eyes, and hair overprocessed
- Does the photo still feel like the same historical image
Correct Common AI Color Mistakes
AI sometimes applies color where it does not belong, especially around hairlines, glasses, teeth, collars, and edges. These small errors can make a photo look unfinished. Zoom in and inspect important areas before saving the final image.
Background mistakes are also common. A wall may appear green in one area and beige in another, or a suit jacket may shift between blue and gray. Use selective editing, brush tools, or masking features to create more consistent color.
Keep Clothing and Objects Believable
Clothing is one area where AI guesses often look convincing but may not be accurate. If you know a uniform, school color, wedding outfit, or family garment had a specific color, manually adjust it. Personal knowledge can improve authenticity.
For historical photos, research can help. Military uniforms, old car colors, and traditional clothing often followed recognizable patterns. If accuracy matters, compare with reference images from the same time period. For creative projects, believable color may be more important than exact color.
Common Fixes That Improve Results
- Lower saturation on skin and backgrounds
- Use warmer tones for indoor portraits
- Make clothing color consistent across folds
- Remove color bleeding around faces and hands
- Neutralize strange green or purple shadows
- Keep whites slightly warm instead of pure blue-white
- Match the color mood to the photo’s age
Use Manual Editing for a Natural Finish
After AI colorization, a photo editor can help refine the image. Tools like selective color, hue adjustment, curves, and masks allow you to correct mistakes without recoloring the entire photo. Even light editing can make the result more convincing.
Focus on balance rather than perfection. Old photos naturally have grain, softness, and uneven lighting. If the color is too clean or modern, it may clash with the original texture. Let some age remain so the image keeps its character.
Avoid Overprocessing the Photo
Too much sharpening, saturation, or contrast can make a restored image look artificial. AI colorization should support the original photo, not overpower it. A softer finish often works better for portraits, especially when the source image is old or slightly faded.
Be careful with automatic enhancement tools after colorization. Some can smooth faces too much, brighten eyes unnaturally, or create plastic-looking skin. If you use enhancement, apply it gently and compare against the original black and white image.
Editing Tips for Realistic Color
- Keep saturation slightly lower than modern digital photos
- Preserve natural grain when possible
- Use masks for clothing and background corrections
- Adjust shadows separately from highlights
- Compare the result against the original regularly
- Do not remove every imperfection from old prints
- Save layered files if your editor supports them
Add Historical Accuracy When Needed
If the image has cultural, family, or documentary value, accuracy matters more than quick visual appeal. AI may create a beautiful photo that is historically wrong. That can be a problem for museums, genealogy projects, editorial content, or educational material.
Look for clues before correcting colors. Family stories, handwritten notes, yearbooks, local records, and period photographs can guide better choices. A relative may remember the color of a dress, a car, a house, or a school uniform better than any software.
Use Reference Images Wisely
Reference images can help you choose realistic palettes. Photos from the same decade, location, or event often reveal common colors in fashion, interiors, vehicles, and signage. This is especially useful when restoring images for articles or archive presentations.
Do not copy colors blindly from unrelated photos. Lighting, film type, print quality, and location affect how colors appear. Use references as guidance, then adapt tones to match the grayscale values and mood of the image you are restoring.
Useful Reference Sources
- Family albums from the same period
- Museum and archive collections
- Vintage clothing catalogs
- Old advertisements and postcards
- Historical vehicle color charts
- Local history websites
- Notes written on the back of prints
Use AI Colorization for Family Photos
Family photos are one of the best uses for AI colorization. Adding color can make grandparents, parents, childhood homes, weddings, and community events feel more immediate. It can also help younger relatives connect with people they only know from old albums.
For personal projects, emotional realism often matters more than perfect accuracy. A warm, gentle color treatment can make a portrait feel alive without pretending to be exact. You can preserve the black and white original while sharing the colorized version as a companion.
Use AI Colorization for Content and Marketing
Bloggers, educators, and content creators can use colorized photos to make historical content more engaging. A colorized image can work well in heritage articles, local history posts, biography features, restoration tutorials, and social media storytelling.
Commercial use requires extra care. Make sure you have rights to the original image, the AI output, and any edited version. If you are publishing restored archive images, credit the source properly and avoid presenting estimated colors as verified facts.
Best Uses by Project Type
Project Type | Recommended Approach
Family album | Natural color with light restoration
Historical blog | Colorized image plus source credit
Museum archive | Conservative color with clear labeling
Social media post | Clean, bright result with careful cropping
Print display | High-resolution file with manual corrections
Client restoration | Editable workflow with approval stages
Protect Privacy and Image Rights
Before uploading a photo, think about privacy. Family portraits, children’s images, military records, and client photos may contain sensitive information. Online tools vary in how they store, process, and reuse uploads, so privacy policies should not be ignored.
For client work, use trusted software and get permission before uploading images to third-party services. If confidentiality matters, consider desktop tools or platforms with clear data handling terms. Professional restoration is not only about image quality; responsible file handling matters too.
Save Files the Right Way
Keep your original black and white image untouched. Save the AI colorized version separately, then create edited versions from that file. This lets you return to the source if the color treatment later feels inaccurate or too heavy.
Use file names that make the workflow clear. For example, keep one original scan, one AI colorized draft, and one final edited version. For printing, export at the highest practical quality. For web use, compress copies without damaging visible detail.
File Management Checklist
- Keep the original scan unchanged
- Save the AI result as a separate file
- Use clear file names with dates or version numbers
- Store high-resolution files for print
- Create smaller copies for websites and email
- Back up important family or client images
- Note any colors based on memory or research
Improve Results With Better Scanning
A good scan can matter more than the AI tool itself. Scan printed photos at a high resolution, especially if you plan to print the colorized result. Flatbed scanners usually produce cleaner files than phone photos, particularly for older glossy prints.
If you must use a phone, photograph the print in soft, even light. Avoid glare, shadows, and angled shots. Place the photo on a flat surface, align the camera carefully, and use the highest resolution available before editing or uploading.
Fix Damage Before Adding Color
Large scratches, folds, stains, and missing corners can confuse AI colorization. Repairing obvious damage first helps the software read the image more accurately. Many restoration tools can remove dust and cracks before the color step.
Small imperfections do not always need removal. Some marks are part of the photo’s history and may add character. The goal is to reduce distractions that affect color quality, not erase every trace of age from the image.
Scanning and Restoration Tips
- Scan at 600 DPI for important prints when possible
- Clean the scanner glass before each batch
- Avoid phone flash on glossy photos
- Crop borders after scanning
- Repair major cracks before colorization
- Keep a raw scan before editing
- Use gentle noise reduction only when needed
Make Colorized Photos Look Print Ready
Printing exposes problems that may not be obvious on a screen. Overly bright skin, noisy shadows, and color bleeding can become more visible on paper. Before ordering prints, zoom in and inspect the final image at full size.
Soft matte paper often suits restored old photos better than glossy paper. It helps reduce glare and can make color feel less artificial. If the photo is meaningful, print a small test copy before making a large framed version.
Optimize Colorized Photos for Websites
For web publishing, balance quality and loading speed. Large image files can slow a page, especially if you use several restored photos in one article. Export web copies in modern formats when supported, while keeping archival versions separately.
Add descriptive file names and alt text when publishing. A file name like restored-family-portrait-1952.jpg is more useful than IMG_0048.jpg. For related editing advice, you can read [Internal Link: AI Photo Restoration Tips] or [Internal Link: Old Photo Editing Guide].
Web Publishing Checklist
- Export a compressed copy for website use
- Keep the archival version separate
- Use descriptive image file names
- Add accurate alt text
- Mention when colors are AI estimated
- Avoid excessive filters for editorial images
- Test how images look on mobile screens
Conclusion
AI has made photo colorization faster, easier, and more accessible, but the best results still come from combining smart software with careful human judgment. A strong source image, light restoration, realistic color choices, and a few manual corrections can turn a flat result into a photo that feels personal and believable.
The key is to treat colorization as an interpretation, not a perfect reconstruction. AI can estimate skin, clothing, skies, interiors, and landscapes impressively well, yet it may still miss details that only family memory, historical research, or an editor’s eye can catch.
If you want to know how to colorize black and white photo using ai, start with a clean scan, choose a reliable tool, review the output closely, and refine the final image with restraint. Done well, colorization can give old photographs a renewed presence while still respecting their original story.
FAQ
Can AI colorize any black and white photo?
AI can colorize most black and white photos, but quality depends on the source image. Sharp portraits and clear scenes work best. Very blurry, damaged, or low-contrast photos may need restoration before colorization.
Is AI colorization historically accurate?
AI colorization is an educated estimate, not proof of original color. It can look realistic, but clothing, objects, and backgrounds may be wrong. Historical references or family knowledge are needed for better accuracy.
What file type is best for AI colorization?
PNG or high-quality JPG files usually work well. For important photos, start with a high-resolution scan rather than a compressed image. Better detail gives the AI more visual information to process.
Should I restore a photo before or after colorizing it?
Major damage should usually be repaired before colorization. Scratches, stains, and folds can confuse AI tools. Final touch-ups, color correction, and light sharpening can be done after the image has been colorized.
Can I print an AI colorized photo?
Yes, you can print an AI colorized photo if the file resolution is high enough. Review the image carefully first, since print can reveal color errors, rough edges, and overprocessed skin more clearly than a screen.
0 Comments